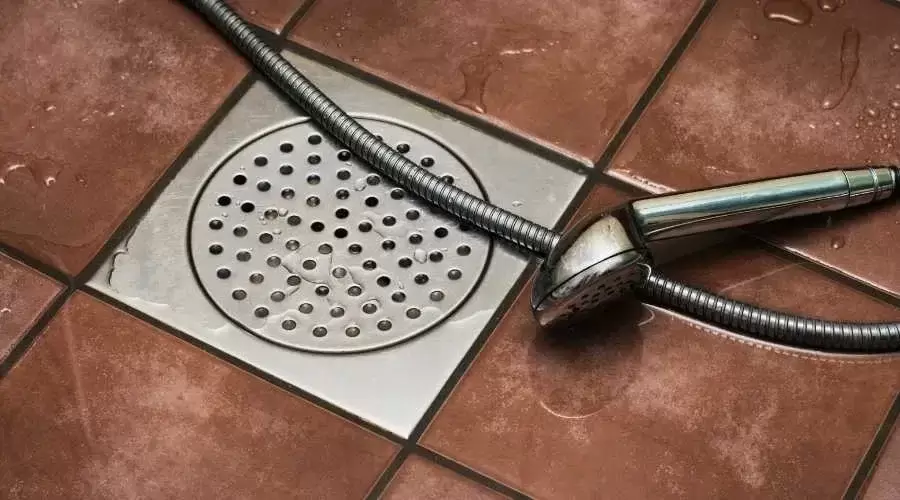
There are various varieties of shower drain covers, and each one comes with a unique set of removal instructions. The following are the most prevalent shower drain covers that we usually see:
- Pop-Up Drain Covers: Most of these simply lift off, but some may require some fidgeting.
- Screw-In: Drain covers with screws on them resemble strainers. Simply unscrew with the proper screwdriver and remove to remove.
- Toe-Touch: Shower drains that open and close with a push of the toe are properly titled as such. Typically, you can unscrew the drain from its open position and remove the cover to remove this kind of drain. (Remember: Righty tighty, lefty loosey!) Find a screwdriver slot to remove the complete mechanism if this doesn’t work.
You didn’t see the shower drain cover you have listed? Not to worry! We also offer services for shower drain covers with lift-and-turn, flip, push, and pull mechanisms.
You May Need These Tools for the Process
- Pocketknife
- Sharp-nosed pliers
- Screwdriver with a flathead
- Sizing caulk
- Lubricant spray
Taking Off The Cover
You need first to lubricate and spray the cover. Any stuck components will be lubricated and made easier to remove as a result. When doing this, don’t forget to wear gloves! Use your screwdriver or pliers to make an effort at removing the lid after it has been suitably lubricated. After a few tries, if you still can’t get it off, try using a utility knife.
Use the proper screwdriver to remove the cover if it is only secured by a screw. Try using a pair of needle-nose pliers to first loosen any rings or other clips holding the cover in place before carefully removing it.
If it’s a snap-in cover, you should also lubricate the edges of the cover and let it sit for a while so it gets into the threads. Next, try to wiggle it out or carefully peel it off with pliers or a flathead screwdriver. If necessary, you can add more lubricant.
Using the utility knife, trim the caulking around the lid as necessary. Before attempting to remove the cover, apply masking tape around it to protect the shower floor. Debris around the lid might occasionally make the removal challenging. If so, carefully cut away any material with the utility knife before trying removal.
After the lid has been taken off, be careful to look for any obstructions or debris that might be the root of your poor drainage. If everything appears to be in order, you should replace the drain cover and caulk it with silicone.
There you have it, then! You now know how to remove a shower drain cover in a few simple steps. Contact Elizabeth Drain Service for assistance if you’ve tried the previous procedures and are still having trouble getting it off. We can swiftly evaluate the condition and offer support so you can fast resume enjoying your showers!
Taking Care Of The Shower Drain
There are also various do-it-yourself and over-the-counter solutions that can offer momentary relief if you’re struggling with an annoying clog underneath the shower drain cover: The clog can be cleared with plungers, baking soda, vinegar, and cheap drain clog remover equipment for hair.
Remember that these are all temporary remedies and that you should call a plumber to solve the problem in order to stop the buildup from happening again or getting deeper down the drain pipe.
Plumbers in ElizabethIn order to properly clean your bathroom, you should first remove the shower drain cover. Additionally, it can assist you in locating drainage problems or other plumbing-related problems in your property. Make sure you have the right equipment and know how to do it before trying to remove a shower drain cover.
Contact Elizabeth Drain Service without delay if you need assistance unclogging the shower drain cover. The greatest plumbing service in the neighborhood is provided by our skilled plumbers. Call us at (908) 988-0365 right now.


